
No-Bake Chocolate Oat Bars – Healthy Summer Treat That Sets in the Fridge
Prep Time: 15 minutes | Set Time: 2 hours | Total Time: 2 hours 15 minutes | Servings: 16 bars | Calories: 195 kcal per bar
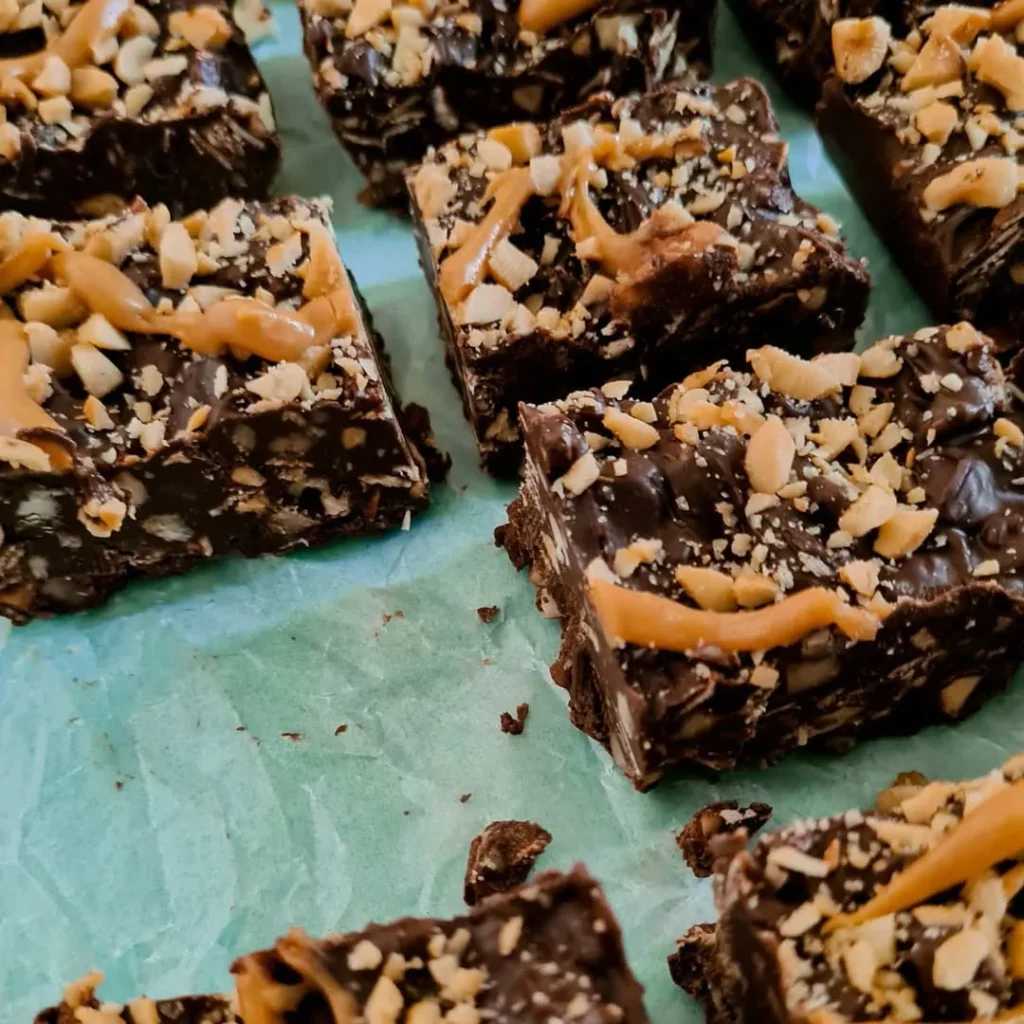
No-bake chocolate oat bars are the treat that proves you do not need an oven to make something genuinely extraordinary. Thick, chewy oat bars with a rich peanut butter and honey base, pressed into a pan and topped with a smooth dark chocolate layer that sets firm in the fridge into a glossy, satisfying shell. Every bar is hearty and sweet, deeply chocolatey, and holds together cleanly when sliced so they are as easy to eat as they are to make.
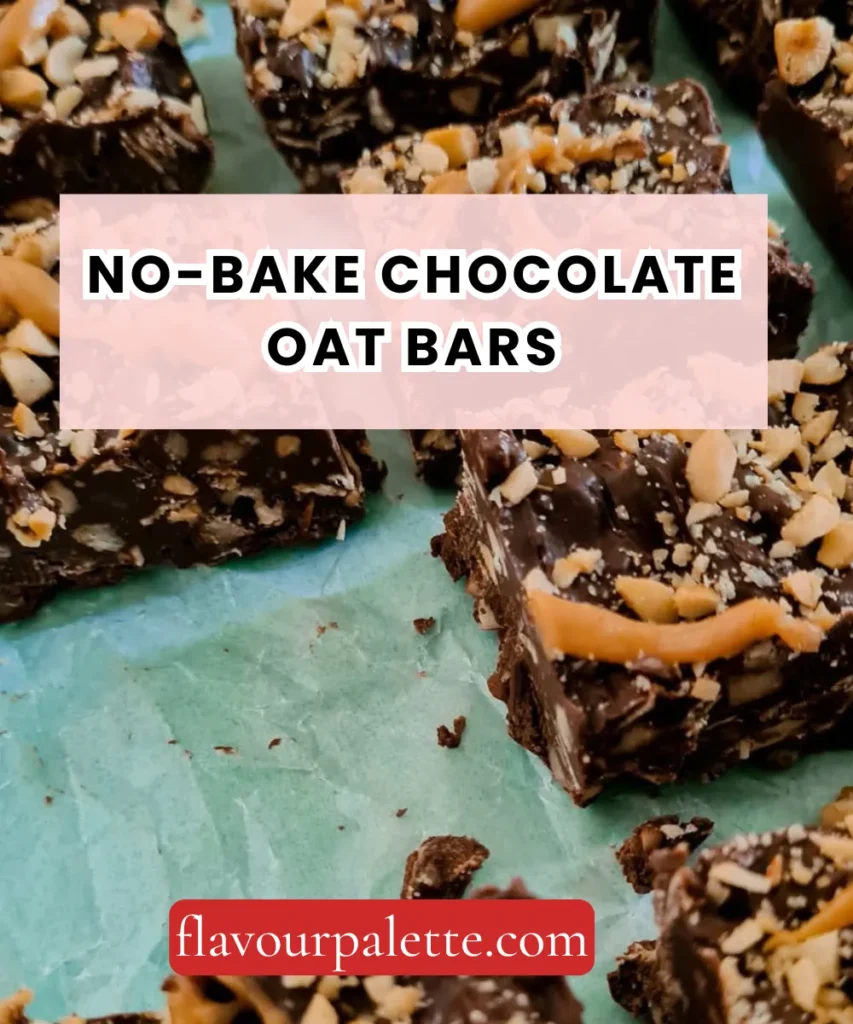
This is the summer treat that makes perfect sense when turning on the oven is the last thing you want to do. No heat, no baking, no standing over a stove for more than five minutes. Everything melts together in one saucepan, gets pressed into a pan, gets poured with chocolate, and then the fridge does the rest. They are ready in two hours and keep beautifully for a week, which is fortunate because once sliced, they do not last much longer than a day before they are gone.
Fifteen minutes of active effort. A pan of bars that tastes like a cross between a chocolate-covered granola bar and a peanut butter cup. Make them once and keep the recipe somewhere permanent.
Why You Will Love This Recipe
No-bake chocolate oat bars are the healthy treat that never feels like a compromise. Here is exactly why they earn a permanent place in your repertoire.
- No oven required. One saucepan, one pan, and the refrigerator do all the work. Perfect for hot summer days when baking is not an option.
- Made with wholesome ingredients. Rolled oats, nut butter, honey, and dark chocolate. Nothing artificial, nothing processed, nothing that requires a second look at the label.
- Genuinely satisfying. The oats and nut butter provide real sustenance — these are bars that keep you full, not just bars that taste sweet for two minutes and leave you hungry.
- Perfect for meal prep. Make one batch on Sunday and have a week of snacks, lunchbox additions, or post-dinner treats ready in the fridge.
- Loved by everyone. Children reach for them as eagerly as adults. The combination of oats, peanut butter, and chocolate is one of the most universally appealing flavor combinations in existence.
Ingredients
For the Oat Base
- 3 cups (270g) old-fashioned rolled oats
- ½ cup (130g) creamy peanut butter or almond butter
- ⅓ cup (115g) honey or maple syrup
- 4 tablespoons (55g) unsalted butter or coconut oil
- 2 tablespoons brown sugar (optional, for extra sweetness)
- 1 teaspoon vanilla extract
- ½ teaspoon salt
- ½ teaspoon ground cinnamon (optional)
For the Chocolate Topping
- 1½ cups (255g) dark chocolate chips or chopped dark chocolate (60 to 70 percent)
- 2 tablespoons coconut oil or unsalted butter
- 2 tablespoons peanut butter or almond butter (optional, for a creamier topping)
For Garnish (Optional)
- Flaky sea salt
- Toasted coconut flakes
- Crushed roasted peanuts or sliced almonds
- A drizzle of extra nut butter
Equipment Needed
- 8×8 inch or 9×9 inch square baking pan
- Parchment paper
- Medium saucepan
- Rubber spatula
- Measuring cups and spoons
- Heatproof bowl (for melting chocolate)
- Sharp knife (for slicing)
Instructions
Step 1: Prepare the Pan
Line an 8×8-inch or 9×9-inch square baking pan with parchment paper, leaving an overhang on two sides. This overhang acts as a handle later, making it easy to lift the entire slab out of the pan cleanly before slicing. Press the parchment into the corners firmly.
Step 2: Make the Oat Base
In a medium saucepan over low heat, combine the peanut butter, honey, butter or coconut oil, and brown sugar if using. Stir gently and continuously until everything is fully melted together into a smooth, glossy mixture — about 3 to 4 minutes. Remove from the heat and stir in the vanilla extract, salt, and cinnamon if using.
Step 3: Add the Oats
Pour the rolled oats into the saucepan with the warm peanut butter mixture. Stir thoroughly with a rubber spatula until every single oat is coated and the mixture is uniform. It should look thick, sticky, and cohesive — not wet or runny.
Step 4: Press Into the Pan
Transfer the oat mixture into the prepared pan. Use the back of a spatula or the base of a flat glass to press the mixture down very firmly and evenly into all four corners. The more firmly it is pressed, the more cleanly the bars will slice later. Refrigerate for 20 minutes while you prepare the chocolate topping.
Step 5: Make the Chocolate Topping
Melt the chocolate chips with the coconut oil and peanut butter if using in a heatproof bowl set over a saucepan of barely simmering water, stirring until completely smooth. Alternatively, melt in the microwave in 30-second intervals, stirring between each, until fluid and glossy. The coconut oil thins the chocolate slightly and helps it set with a smooth, even surface.
Step 6: Pour and Spread the Chocolate
Remove the pan from the refrigerator. Pour the melted chocolate over the oat base and spread it evenly to the edges using a spatula. Tap the pan gently on the counter a few times to help the chocolate settle to the correct level. While the chocolate is still wet, scatter any garnishes — flaky salt, coconut flakes, crushed peanuts, or a drizzle of extra nut butter.
Step 7: Set in the Refrigerator
Return the pan to the refrigerator and chill for at least 2 hours until the chocolate topping is completely firm and set. Do not rush this step — partially set chocolate cracks and crumbles when sliced rather than cutting cleanly.
Step 8: Slice and Serve
Lift the entire slab out of the pan using the parchment overhang. Place on a cutting board. Using a sharp knife, slice into 16 even bars. For the cleanest cuts, briefly warm the knife blade in hot water and wipe it dry before each cut — this helps it glide through the set chocolate without shattering it. Serve cold from the fridge or at cool room temperature.
Substitutes & Swaps
- Peanut butter: Any nut or seed butter works well — almond butter gives a slightly lighter flavor, cashew butter is milder and creamier, sunflower seed butter makes this completely nut-free without sacrificing texture or richness.
- Honey: Maple syrup gives an equally good result with a slightly more complex, less floral sweetness. Brown rice syrup works as a less-sweet, more neutral binding agent.
- Rolled oats: Quick oats can be used for a smoother, less chewy bar. Do not use steel-cut oats — they are far too hard and will not soften without cooking.
- Dark chocolate: Milk chocolate gives a sweeter, creamier topping. Semi-sweet chocolate chips are a slightly milder alternative. For dairy-free, use a good-quality dairy-free dark chocolate.
- Butter: Coconut oil is a direct one-to-one swap and keeps the recipe dairy-free. It also gives the bars a very slight coconut flavor that works beautifully with the chocolate.
Variations
Chocolate Almond Oat Bars
Use almond butter in the base and topping, and press a handful of toasted sliced almonds into the oat layer before adding the chocolate. Scatter a few more over the wet chocolate before setting for a beautifully finished, slightly crunchy bar.
Coconut Chocolate Oat Bars
Stir half a cup of toasted, shredded coconut into the oat mixture along with the rolled oats. Scatter extra toasted coconut over the wet chocolate topping before chilling. The result has a slightly chewy, tropical character that makes these bars feel particularly summery.
Double Chocolate Oat Bars
Stir two tablespoons of cocoa powder directly into the oat base along with the other dry ingredients for a chocolate-flavored base under the chocolate topping. Every bite is more intensely chocolatey and deeply satisfying.
Fruit and Nut Oat Bars
Stir a handful of dried cranberries, chopped dried apricots, and roughly chopped roasted cashews into the oat mixture for a fruit and nut trail mix-style bar with more varied texture and a pleasant tartness from the dried fruit.
Peanut Butter Cup Bars
Before pouring the chocolate topping, spread a thin layer of warmed peanut butter over the chilled oat base. Then pour the chocolate over the peanut butter layer. The result is a layered bar that tastes almost exactly like a giant peanut butter cup and is nearly impossible to stop eating.
Tips & Tricks
Press the oat base as firmly as possible. Loosely pressed bars crumble and fall apart when sliced. Use the base of a flat-bottomed glass and push down with real force, going over the entire surface multiple times until the oat layer is dense, compact, and level.
Use old-fashioned rolled oats, not instant. Old-fashioned oats have more structure and give the bars a pleasantly chewy texture. Instant oats produce a softer, slightly gummy bar. Steel-cut oats are too hard and should never be used.
Do not overheat the peanut butter mixture. Keep the heat on low when melting the base ingredients together. Honey burns and seizes when overheated and can turn the base mixture grainy and difficult to mix with the oats.
Let the chocolate set completely before slicing. A minimum of two hours in the fridge is needed for the chocolate to firm up fully. Slicing before it has set results in cracked, messy bars. When in doubt, give it another thirty minutes.
Warm the knife before slicing. Running the knife blade under hot water and wiping it dry before each cut is the single most effective technique for clean, sharp slices through the set chocolate layer. A cold, dry knife shatters the chocolate.
Store in the fridge, not at room temperature. These bars are held together by the set chocolate and chilled nut butter mixture. At warm room temperature, they soften quickly and become difficult to eat. Stored in an airtight container in the fridge, they stay firm, chewy, and perfect for up to a week.
Nutrition Information (Per Bar)
| Nutrient | Amount |
|---|---|
| Calories | 195 kcal |
| Total Fat | 11g |
| Saturated Fat | 4.5g |
| Carbohydrates | 22g |
| Fiber | 2.5g |
| Sugars | 11g |
| Protein | 4g |
| Sodium | 85mg |
Frequently Asked Questions (FAQs)
Why are my bars crumbling when I slice them?
Two most likely causes — the oat base was not pressed firmly enough before chilling, or the chocolate was not fully set before slicing. Press the oat base with real force using a flat-bottomed glass, and always give the bars the full two hours in the fridge before attempting to slice them.
Can I make these without peanut butter?
Yes. Any nut butter works as a direct swap. For a nut-free version, sunflower seed butter is the best substitute — it behaves identically in the recipe and the flavor, while different, is genuinely good. Tahini also works for a more unusual, slightly bitter-sweet flavor that pairs beautifully with dark chocolate.
How do I store these bars?
Store in an airtight container in the refrigerator for up to 1 week. Layer between pieces of parchment paper if stacking to prevent them from sticking together. Bring to cool room temperature for 5 minutes before eating for the best texture.
Can I freeze these bars?
Yes. Wrap individual bars in parchment paper and freeze in an airtight bag for up to 3 months. Thaw in the refrigerator overnight or at room temperature for 20 minutes. They defrost beautifully and taste freshly made.
Can I use natural peanut butter?
Yes, but with a caveat. Natural peanut butter with a separated oil layer needs to be stirred very thoroughly before using. The oil separation in natural peanut butter can cause the bars to have a slightly oilier texture. A conventional creamy peanut butter gives the most consistent result.
Can I make these vegan?
Yes very easily. Use maple syrup instead of honey, coconut oil instead of butter in both the base and the chocolate topping, and ensure your chocolate is dairy-free. Every other ingredient in the recipe is naturally vegan.
The Bar That Belongs in Every Fridge All Summer
There is a particular satisfaction that comes from having something genuinely good waiting in the fridge — something you made yourself from real ingredients that tastes better than anything in a wrapper from a shop shelf. These no-bake chocolate oat bars are exactly that thing. They are ready whenever you need them, they improve slightly after a day or two as the flavors settle, and they solve the problem of wanting something sweet and satisfying without wanting to eat something that makes you feel terrible afterward.
Make a batch on Sunday. Slice on Monday. Eat one every day for a week and feel quietly pleased that something this good takes fifteen minutes to put together.
Made these no-bake chocolate oat bars? Leave a comment below and tell me which variation you tried and what garnishes you added to the top. I love hearing how they turned out.
No-Bake Chocolate Oat Bars
Ingredients
- Oat Base:
- 3 cups 270g old-fashioned rolled oats
- ½ cup 130g creamy peanut butter or almond butter
- ⅓ cup 115g honey or maple syrup
- 4 tablespoons 55g unsalted butter or coconut oil
- 2 tablespoons brown sugar optional
- 1 teaspoon vanilla extract
- ½ teaspoon salt
- ½ teaspoon ground cinnamon optional
- Chocolate Topping:
- 1½ cups 255g dark chocolate chips or chopped dark chocolate
- 2 tablespoons coconut oil or unsalted butter
- 2 tablespoons peanut butter or almond butter optional
- Garnish Optional:
- Flaky sea salt
- Toasted coconut flakes
- Crushed roasted peanuts or sliced almonds
- Drizzle of extra nut butter
Instructions
- Line an 8×8 or 9×9 inch pan with parchment paper, leaving an overhang on two sides.
- In a medium saucepan over low heat, melt peanut butter, honey, butter, and brown sugar together, stirring until smooth, about 3 to 4 minutes. Remove from heat. Stir in vanilla, salt, and cinnamon.
- Add rolled oats and stir thoroughly until every oat is evenly coated.
- Transfer to the prepared pan. Press down very firmly and evenly using a flat-bottomed glass. Refrigerate for 20 minutes.
- Melt chocolate chips with coconut oil and peanut butter if using, in a heatproof bowl over simmering water or in the microwave in 30-second intervals, until smooth and glossy.
- Pour chocolate over the chilled oat base and spread to the edges. Tap pan gently to level. Add garnishes while chocolate is still wet.
- Refrigerate for at least 2 hours until chocolate is completely firm.
- Lift out using the parchment overhang. Slice into 16 bars with a warm, dry knife. Serve cold or at cool room temperature.
Notes
- Press the oat base very firmly — this is what makes the bars hold together when sliced
- Use old-fashioned rolled oats — quick oats give a softer texture, and steel-cut oats are too hard
- Keep the heat on low when melting the base — honey burns and seizes if overheated
- Allow the full 2 hours of chilling before slicing — partially set chocolate cracks
- Warm the knife under hot water and wipe dry before each cut for clean slices
- Store in an airtight container in the fridge for up to 1 week
- Freeze individually wrapped bars for up to 3 months
- For vegan bars use maple syrup, coconut oil, and dairy-free dark chocolate
- Sunflower seed butter makes this completely nut-free with excellent results
- The peanut butter cup variation — a thin layer of peanut butter between the oat base and chocolate — is the most popular variation by far


